
Niels Bosch kindly explain us the main features of this endearing story made for his final project at Utrecht School of Arts, Pulldownit plugin was used extensively for all the scenery destruction effects.
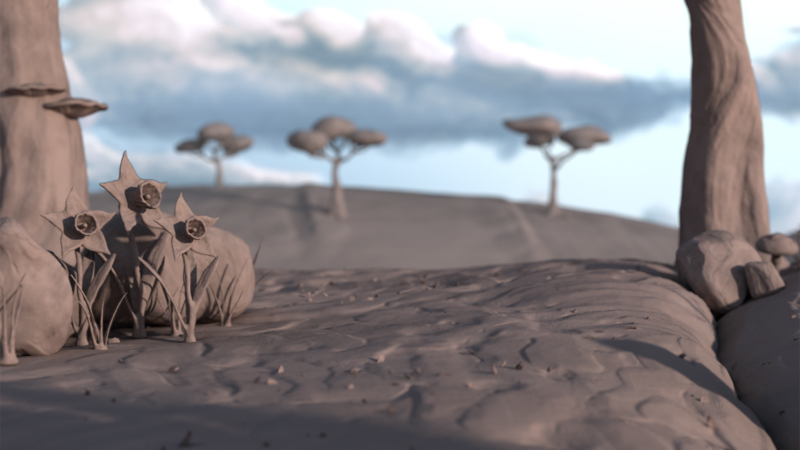
The main goal for the look of the film was to make a believable feel of the clay material, everything had to look hand sculpted. In order to achieve that goal we turned to Zbrush for the sculpting part. For the clay structure we mostly used the standard brushes within Zbrush. These basic tools gave us such great freedom to make everything look as if it was hand sculpted.
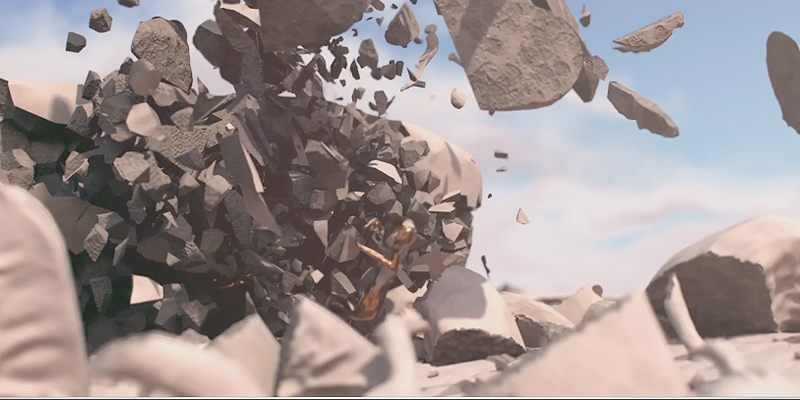
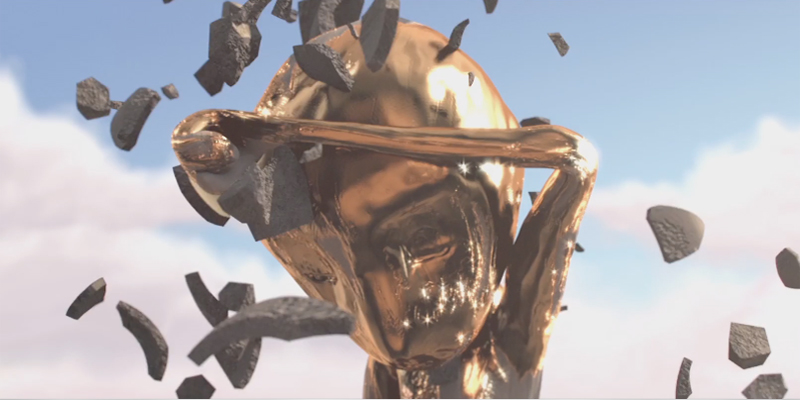
The simulations were all done with Pulldownit. We wanted to create a “cute” explosion, it had to feel tiny, like it all happened inside of a cardboard box. In order to do this we didn’t use any dynamic fields to make the pieces fly apart, instead we gave every piece a slight angular acceleration to give it a springy effect. We used particles to simulate smaller pieces, the emitter was connected to the inner material of the shattered pieces. These particles were driven by several expressions which influenced its motion parameters like angular velocity, to give them a dynamic feel.
What I liked most about Pulldownit was the straight-forward usability, everything
from shattering the object to baking the simulation was very clear and easy to use.
The dynamics properties were easy and fast compared to other dynamic engines, and
the different bounding volumes came in very handy while doing larger simulations.
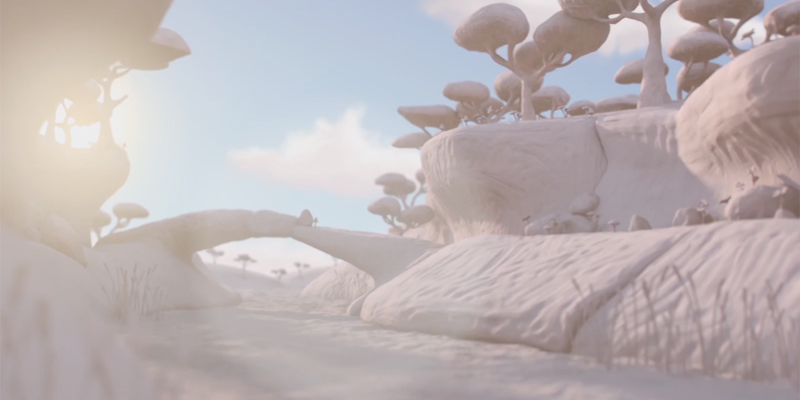
The main render engine we used was V-ray. The three of us had worked with V-ray on several projects so it was our first choice. The shading of the clay world was just a simple V-ray shader, nothing too fancy because the clay look was achieved by sculpting and then applying the displacement maps on the low poly mesh. We knew the render times would be substantial because we used a lot of displacement maps. So in order to lower the render times we decided to use no reflection on our clay shader and we used the world position pass and the normal pass to do some relighting in Nuke in order to fake the reflection.
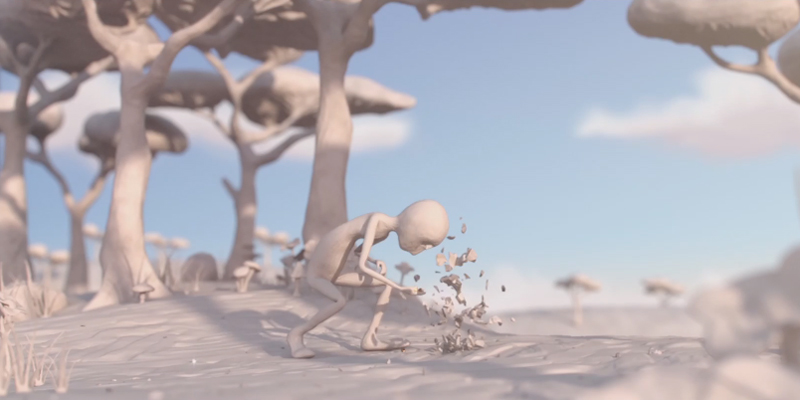
The shading of the character was a bit more advanced. It contains the clay shader but on top of that the facial expressions and the gold parts were done with displacement maps and animated masks which connect to the controls of set driven keys. The disadvantage for using displacement maps for facial expressions is that the animator cannot see his actions in the viewport, so animating would be a pretty clumsy and very time consuming task.
To avoid this we came up with a solution to use the switch material within V-ray. This allowed us to make a preview material for the animator to see his actions, and switch between different clay/gold shaders for final rendering all connected with set driven keys to the face GUI.

About the authors:
Niels Bosh
Jonathan Krijgsman
https://vimeo.com/jonathankrijgsman
Almar Sloot
