Case study: Angry Orc Destroying Statues

Andres de Mingo   the author of this nice shot,  kindly explains us how he did the destruction effects using Pulldownit plugin in 3d Max.

Cracking the last statue

There are 3 statues  to break consecutively, first and second are destroyed completely but last one is only cracked by the shock wave happening when the Orc hits the ground with the hammer, I started doing this effect in first place by advancing the start time of Pdi simulation to set it just before the hammer hits the ground. I use the nice crackers feature of Pulldownit to do it. Also to speed up computation the orc itself wasn’t set in dynamics as  for this effect I needed only the hammer to be included , doing it in this way I got a fast playback rate for adjusting the destruction.

After the effect was done I baked simulation keys for the statue and cracked ground.

Destroying the second Statue

This was a more difficult effect as I wanted the statue to stay in place but being completely destroyed by the impact with the hammer, for this I shattered the statue in around 1000 shards, and reshattering it in 1000 shards again in the middle area by squeezing and displacing the shatter gizmo. After that I created a fracture body for it, setting its hardness value around 20 units to make it very brittle and PDi did the work nicely. This time I had to set the Orc also in simulation but computation time was fast anyway. As before I baked simulation keys for the statue before continuing with the shot.

Destroying the First Statue

I shattered the statue in around 2000 shards in the same way I did with the other one but setting its Fracture body as static “only breaks” because I didn’t want the fragments flaying away too much, this time the Orc was set as mesh ”animated” because it had to walk across the debris and kick them in his way to the next statue, but computation was still pretty fast, after I was happy with the destruction I baked animation keys for the statue.

Conclusions

You can find the orc and other nice models by Andres de Mingo in

https://www.layerforged.com/

,they offer  a wide variety of 3D printed resin miniatures for your modeling projects, role-playing games (DnD, Pathfinder, HeroQuest) and much more.

God of War Ragnarok Art Blast

Sony Santa Monica has published a nice article and video  about Art Blast in latest God of War game showing destruction effects and beautiful environments that can be cracked and damaged during the game.

You can review the whole article here:

Visit God of War Ragnarok Art Blast

Aside in-game physics they have used baked simulations with Pulldownit in Maya adding hand key modifications to get the look they wanted,  indeed Pulldownit plugin allows to fix or modify baked simulation easily by editing animation keys for fragments or rigid bodies.

Besides Cynthia Fenton, breakable artist at Sony Santa Monica Studio, has posted a stunning video showing his work in God of War Ragnarok using Pulldownit plugin for destructions effects, you can see it here:

Amazing job Cynthia, thank you for sharing!

Pandemos by Lee You Young

Lee You Young ,student at the prestigious SF FILM SCHOOL  in Korea has published this stunning shot and breakdown claiming it is her first VFX showreel,  that’s pretty amazing given the complexity of the animation and quality of the final footage.

‘Pandemos’ is a project that expresses the situation in the covid-19 era that is sometimes described to be “like a movie” in the form of a SF video using VFX

Lee You explains the creature was modelled, rigged and animated in Maya,  then sent to UE5 for rendering the whole scene and final composition with real footage was finally done in Nuke.

Pulldownit plugin was used to shatter the bottle containing “Covid vaccine” when the creature  stepped on it releasing the virus fluid made using Maya Bifrost. Pulldownit simulation was exported in fbx format to UE5 to render the whole shot there.

Amazing job Lee You, thank you for sharing!

Cracking a Moai statue with Pulldownit 5

Ideaform3d has published a nice tutorial showcasing Pulldownit new bounded cracks feature. The tutorial shows step by step how to create a crack along a Moai statue all inside Maya 2022 using PDI plugin,

Project files can be downloaded by clicking in the link included in the text of the tutorial below,

Ideaform3d is a youtube channel featuring nice and easy to follow tutorials showcasing useful plugins and scripts for Maya, 3dsMax and After Effects, worth to check it!

visit Ideaform3d Channel

Ancient Bridge earthquake by Andres de Mingo

Andres de Mingo,  author of this striking shot, kindly explains us how he did the dynamics effects using Pulldownit plugin inside 3ds Max.

I love those ancient bridges in Center Europe, with its old stones and statues plenty of history, I thought it would be dramatic seeing it being affected by a earthquake and tried to depict it in this little VFX project.

Cracking the bridge

The platform of the bridge is actually a large thin box textured with a combination of paving stones  and a grass shaders, I drawed a long 3ds max spline over the box and then used Shatter it tool to generate around 1000 shards around it, I added a second set of shards but this time making shatter width smaller and changing the Shatter Seed value to get a different pattern, finally I added an Uniform Shatter pattern of around 200 fragments to get rid of  too large shards appearing at both sides of the spline.

I created a PDI Fracture Body for the platform and a PDI Cracker along the spline, to speed up testing I set Local Propagation for the fractures, also to prevent fragments flying away too much I set a low value for the Cracker multiplier.

Making paving stones exploding

After I was happy with the main crack, I started adding more destruction on the bridge, for blasting  group of cobbles I reshattered the platform in different areas near the spline, this time using PDI Local Shatter, 200 shards per exploding area was enough,  following by creating clusters for each area, PDI Increase Selection tool is great for this, setting the cluster Hardness  to 0 and adding  a low break energy to get the exploding effect. Then I had just to set the break frame per cluster at the correct time to get the explosions happening one after another.

Crumbling the Statues

There are 5 statues on each bridge border, that’s makes a total of  10 models to shatter and destroy, this can be quite a lot of work, but I managed to speed up things by using some clever Pulldownit features.  I started by drawing a spline over the statue surface and creating a cracker for it,  then shattering the model with PDI path based style in around 300 shards, and adding an Uniform shatter pass of around 50 shards to get rid of large fragments on the model,  finally I added also a couple of small  PDI Local shatter shards in some borders of the statue.  By creating a fracture body and setting it to static and only break I got the statue crumbling nicely without breaking it completely.

But for the statues in the background I did it much simpler, I  made the model adquiring the shattering of the version in close up view, using PDI Adquire shatter style, then creating some cluster to make the statue starting crumbling at the desired frame , that’s did the trick perfectly.

Conclusions

This shot involved several models to be damaged and cracked, thanks to the easy of use and clever features of Pulldownit  I was able to have all destruction effects done and adjusted in a short time. I like specially  PDI Jagginess , this feature add detail to inner faces so cracks looks rough and more realistic when rendering the scene without having to create complex shader for them.

Chop the Queen by Andres de Mingo


Andres de Mingo   the author of this nice shot,  kindly explains us how he did the destruction effects using Pulldownit plugin in 3d Max.

My aim in this shot was to do an exaggerated representation of a  chess game “capture the queen” movement.  The model had to perform exactly 3 loops on scene, before breaking completely on the edge of the chessboard, these kinds of constraints happens many times in production projects.

Animating the Queen

AnimatingQueen

I animated the queen in advance, doing exactly 3 loops,  in this way  the model should maintain  the original motion while fracturing, luckily I was able to do all of this using the Pulldownit plugin in 3ds Max.

To make things easier I used a simple shape wrapping the queen model,  after simulating its motion  I had just to parent the queen to my proxy shape to make it acquire its motion.

I set also the chessboard as a static PDi body so the pieces can collide with it, as expected the tower only pushed away the queen when hitting it,  to get the piece looping in the air I played with initial velocity and initial spin of the queen model alone until getting it looping nicely 3 times, then I had simply to set the activation frame for the queen just when being reached by the tower to start its motion at exact the impact moment.

Fracturing the queen

shatteringQueen

I wanted to damage the queen locally several times before being broken completely,  for this I started applying  a rude Uniform PDI shatter of around 100 shards over the model, then I reshattered the corner area near the tower in around 200 shards using local style,  and finally I reshattered the top part of the queen in around 150 more shards in order to get smaller debris when this part hits the ground.

the ability to  to increase fracture energy above the solver computed value was very useful to strength  impacts according to artistic aims

fracturingQueen

Once the shattering was defined I created a PDI fracture body for the queen model, setting it as Static and Only Breaks to force preserving the original trajectory while fracturing it,  by playing the simulation the queen broke apart nicely in the impact with the tower, however it didn’t break completely when reaching the border of the board,  after setting Activation at frame and Clusterize value to 20 units in the PDI fracture options I got it breaking nicely outside the board.

fracturingQueenClusters

To exaggerate the strength of fracturing I created 2 small cluster of fragments in the areas I wanted to break apart and set its break energy to a value around 10 units, I set those clusters to break at a specific frame aswell. Finally I added some roughness to the fragments with the amazing edge jaggines feature of Pulldownit.

Pulldownit counts with many nice features but adding jagginess to fragments is probably my favorite one

Conclusions

final

This shot was simple in its concept but very demanding regarding dynamics control,  I needed the queen model to fracture at specific moments but maintaining always the  original trajectory and motion of the object and I must say Pulldownit did it perfectly. Besides the ability to  to increase fracture energy above the solver computed value was very useful to strength  impacts according to artistic aims, and still getting a  natural motion which would have been very difficult to achieve by other means, I believe.

Accident in the Port by Andres de Mingo


Andres de Mingo,  author of this realistic shot, kindly explains us how he did the dynamics effects using nCloth combined with Pulldownit plugin inside Maya.

This time I proposed myself to reproduce a believable crane accident all inside Maya, the final shot involves 3 different effects,  simulating  the crane cable in motion, the tearing of the ropes attaching the pipes and the final  falling and breaking of the pallet , all along with sound efects to increase realism.

Animating the Crane Cable

animatingTheCraneCable

The motion of the crane cable is very simple, but I wanted the cable to show some tension and curvature when moving because of this I decided to use nCloth for animating it. In addition the hook has to follow the motion of the cable  but with its own independent swinging so I  created a nCloth shape for it as well, however the hook model was a little complex, including a support with nuts and bolts,  so I made a more simple shape to use it in simulation. Finally, the pallet and pipes has to follow also the animation of the cable and hook but again with its own relative motion, I included them in nCloth as a single simple shape wrapping the original objects.

In order to link the different parts together I created several Point to Surface nConstraints attaching the end vertexes of each object to the previous object in the chain. When computing, the crane transferred its motion to the nCloth cable and so on because of the links between them.

Tearing the Pallet Ropes

tearingTheRopes

For tearing the ropes I made a simple trick, I removed some small polys of the original ropes model in the areas where I wanted them to tear and move away, then I made each separated part an independent node in Maya and create nCloth shapes for them. Finally I assigned  nConstraints joining the ends of each piece of rope to make them moving together, this time I used Component to Component constraints to select carefully the attaching vertexes. I also set the pallet proxy object and the containers nearby as passive colliders in Nucleus so they can collide with the falling ropes. At this point I had only to make the constraints attaching the ropes to disable at the frame I wanted, I got it just by animating this parameter of the nCloth shapes. Everything worked nicely except the ropes were trembling  too much when around the pallet, I increased its rigidity to remove the problem but this caused the ropes not bending after tearing and colliding with other objects so I had to animate also rigidity to reduce it a lot after separating the ropes in dynamics.

Simulating the Pipes

simulatingPipes

For simulating the pipes falling I used Pulldownit, contrary to nCloth this Maya plugin acquires automatically the velocity from animated objects without the need of any additional setup, besides the pallet breaks when colliding so PDI was perfect for the  task.

At this point I had cached all nCloth simulations with Alembic, my original idea was to make the pipes child’s of the Alembic cable so they will acquire its velocity before falling, sadly it didn’t work; the reason seems to be PDI only acquire velocity from keyframed objects but Alembic nodes are made of vertexes animated. I solved the issue by creating a duplicated version of the pipes and making they follow the cable motion using a wrap deform in Maya, then I had to keyframe the original pipes group to match the motion of the wrapped version,  I had to do this only for the last swing of the cable so it wasn’t difficult. Afterwards setting all pipes as PDI rigid bodies and making them activate at frame did the work.

I did the same trick for the pallet but this time creating a PDI fracture body and setting it to activate at the desired frame. Finally animating visibility for each version of the pallet, the wrapped and the simulated one, I got the complete smooth effect.

Render and sound effects

For rendering the scene I used Arnold in Maya with just an Skydome light, as being an outdoor scene Arnold was pretty fast and the render looks very realistic, I composed the final shot in Davinci Resolve and adding sound effects there,  I must say doing it was fun and easy,  Davinci  is a great software specially its latest version.

Conclusions

last

It has been an interesting experience working in this project, specially I learned how to combine different solvers , nCloth and PDI,   nCloth worked well, and the fact you can animate its parameters to get different cloth behaviour at different moments of the simulation helps a lot. PDI was  easy to use and you can get different outcomes by tweaking parameters almost instantly. It would be great a more direct connection between both solvers to need less steps when combining them in the same effect.

Icebreaker Avalanche by Andres de Mingo

Andres de Mingo   the author of this nice shot,  kindly explains us how he did the destruction effects using Pulldownit plugin in 3d Max.

It has been a stimulating experience working in this project, using Pulldownit in 3ds Max was easy and fun,  PDI get along very well with Particle Flow to add more debris.

Shattering the ice floor

iceCrack_top

The ice is shattered in several stages, first I drew  a large spline crossing the ice in the middle and use Path-based shatter creating around 400 small shards,  then I applied a Uniform shatter on the whole ground to make all fragments rounded, 80 shards was enough for this. Finally I needed the area around the boat to have more fragments as they will break off in dynamics for this I put a thin box over the ground covering the area I wanted to reshatter and use it as a Shatterit Volume Shape with around 250 additional shards.

iceCrack_front

For the area behind the boat I simply deleted the shards in the middle manually,  for the rest I created a fracture body with Hardness 20 and Clusterize 0, I wanted the ice to break only in the boat area so I set it as Only break and Local Propagation also I set the hull of the boat as a kinematic body to can collide with the ice. When playing the scene the boat was colliding with the ice but several fragments interpenetrated the hull because they weren’t pushed away with enough strength. To fix the problem I created a Pdi Cracker object following the path just in front of the boat and running at its same pace, then I tweaked the Cracker impulse direction until getting the fragments pushed up and colliding with the hull afterwards nicely.

Making the cliffs avalanche

cliffsClusters

I wanted the cliffs behind the boat to start crumbling at some moment, for this I shattered three nearby peaks in around 125 shards each one using Local shatter, then I created a single fracture far all of them and set it as Static-Only Break and reduce it hardness to 10 units to make it overall very brittle. In order to trigger the destruction I created a cluster from the farthest peak adding some break energy and setting it  to start breaking at frame 90, after the boat has started to shatter the ice in front, I made the same with the second peak but this time making it starting to break  one second later and so on, in this way I got the feeling of the shockwave propagating across the cliff. That worked pretty well but some big fragments of the basis start to break off as well in a weird way, to fix the issue I set all fragments of the basis as static to prevent them moving at all.

Adding  more debris

pFlowDebri

I used Particle Flow in 3ds Max to add more debris to the cliffs destruction, that wasn’t difficult. I set a Position Object operator to use the PDI fragments as source for particles then I set a Spawn operator to emit more particles per frame. Finally I set a Shape Instance with a PDI fragment as source to instantiate the particles as geometry. Only trouble was some particles accelerated too much , I remove those weird particles by adding a Speed Test branching to a delete pFlow operators.

Adding  a falling snow effect

FumeFxViewport

The Cliff destruction already looked good but  I needed to add falling snow, I reused the same pFlow particles I have created before to emit smoke with FumeFx.  I didn’t want a dense avalanche of snow because this would hide the falling rocks behind, I just needed a soft covering of snow around the detached fragments.

Preventing the smoke to raise was the main trouble, I set a low temperature value, negative buoyancy (-5) and high dissipation values, finally I got a better look by setting Velocity Difusion to 50 units. The result I got isn’t perfect at all but I hope it gets the feeling of  snow around.

Finally I composed the snow pass in Fusion, adding some blur and adjusting the levels with the alpha gain.

final

Conclusions

It has been a stimulating experience working in this project, using Pulldownit in 3ds Max was easy and fun,  PDI get along very well with Particle Flow to add more debris, generating snow  was the most difficult part, Fume is great for smoke generation but honestly getting a falling snow behavior isn’t easy, next time I would like to try a more specific tool to simulate sand -like effects in addition to Fume.


Ancient Hall destruction by Esteban Cuesta


Esteban Cuesta  the author of this powerful shot,  kindly explains us how he made it in 3ds Max using Pulldownit for destruction.

I did this shot inspired by the destruction of Red Keep cellars in final Seven Kingdoms season, seeing all those big ceiling’s fragments falling to the ground surrounding the lovers more and more until finally got them buried and dead.

That was a dramatic end which impressed me and decided to try a similar destruction effect using PDI in 3ds Max.

Fixing the Model for shattering

3dmodel

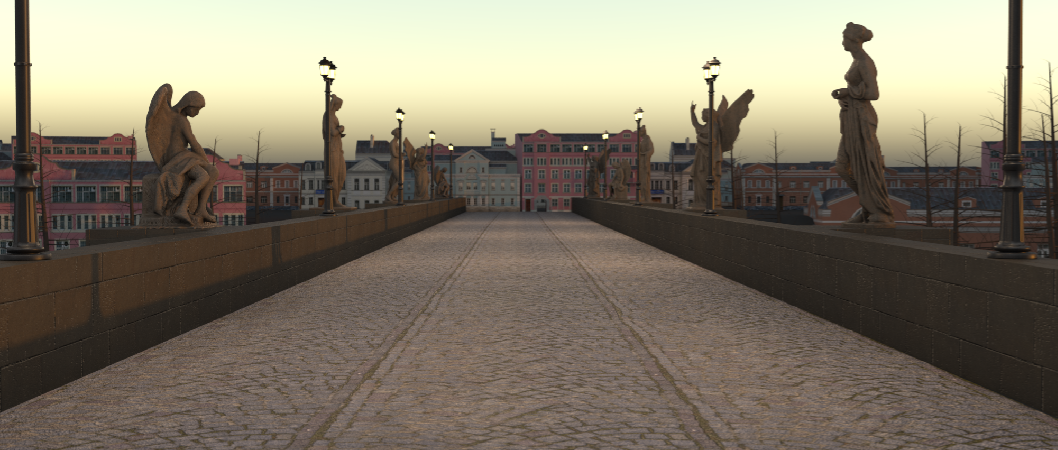
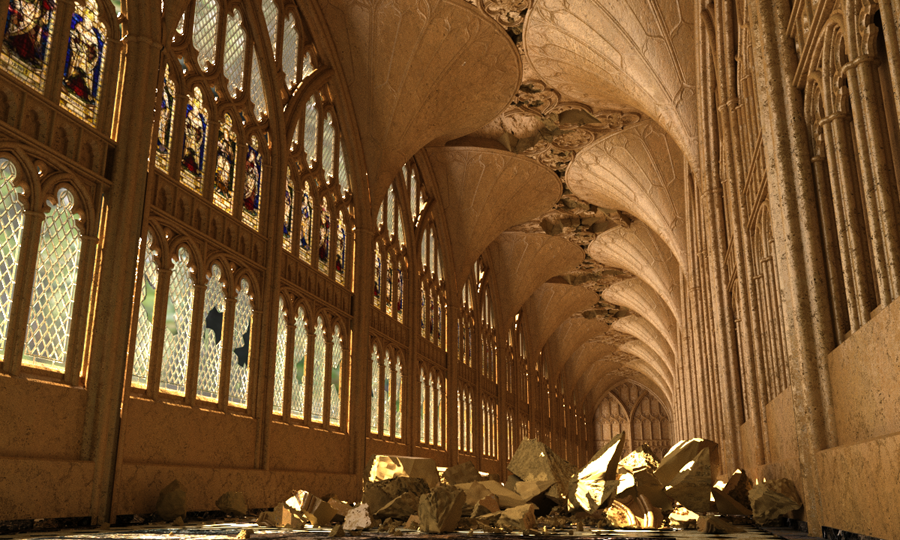
Im not a modeller at all so I searched the web to find some kind of indoor model of an ancient building I could use, finally I found this nice model of the Gloucester Cathedral by ddFantast, maybe familiar to you because several scenes of Harry Potter movies where actually filmed inside this corridor. The model looked perfect for my project with all those impressive arcs and its rich decorated ceiling.

The model was very complete, with shaders and lights already set, however it happens many times models for visualization have issues when it comes to shatter them,  in my case all the  moldings in the ceiling and arcs where made as independent objects and came with many open edges and defects like that not noticeable because got hidden in the overlapping area with the arcs  but  preventing from shattering them correctly.

I managed to fix the moldings of the ceil by applying cap holes modifier to them but sadly it didn’t work for the arcs, applying cap holes I got several visible artifacts on them, luckily I found a way by baking all the moldings as a normal map, PDI support this feature and the arcs  looked nice and still detailed with the normal maps in place of geometric moldings.

Fracturing the Model

Cathedral-element

The Cathedral model is built in a smart way, actually it is made of a single element like a chamber duplicated several times and concatenated so  you get the whole corridor.

I wanted to create the destruction in 2 stages, the first one shattering the windows and small fragments of ceilling detaching and falling, second stage is big chunks falling and breaking heavily when hiiting the ground. The corridor was very long so my idea was I could destroy a single element in this way then apply the resulting fragments and its motion to the rest of the chambers but offsetting the animation in time , so I finally got  a chain destruction effect.

destructionElementPasses

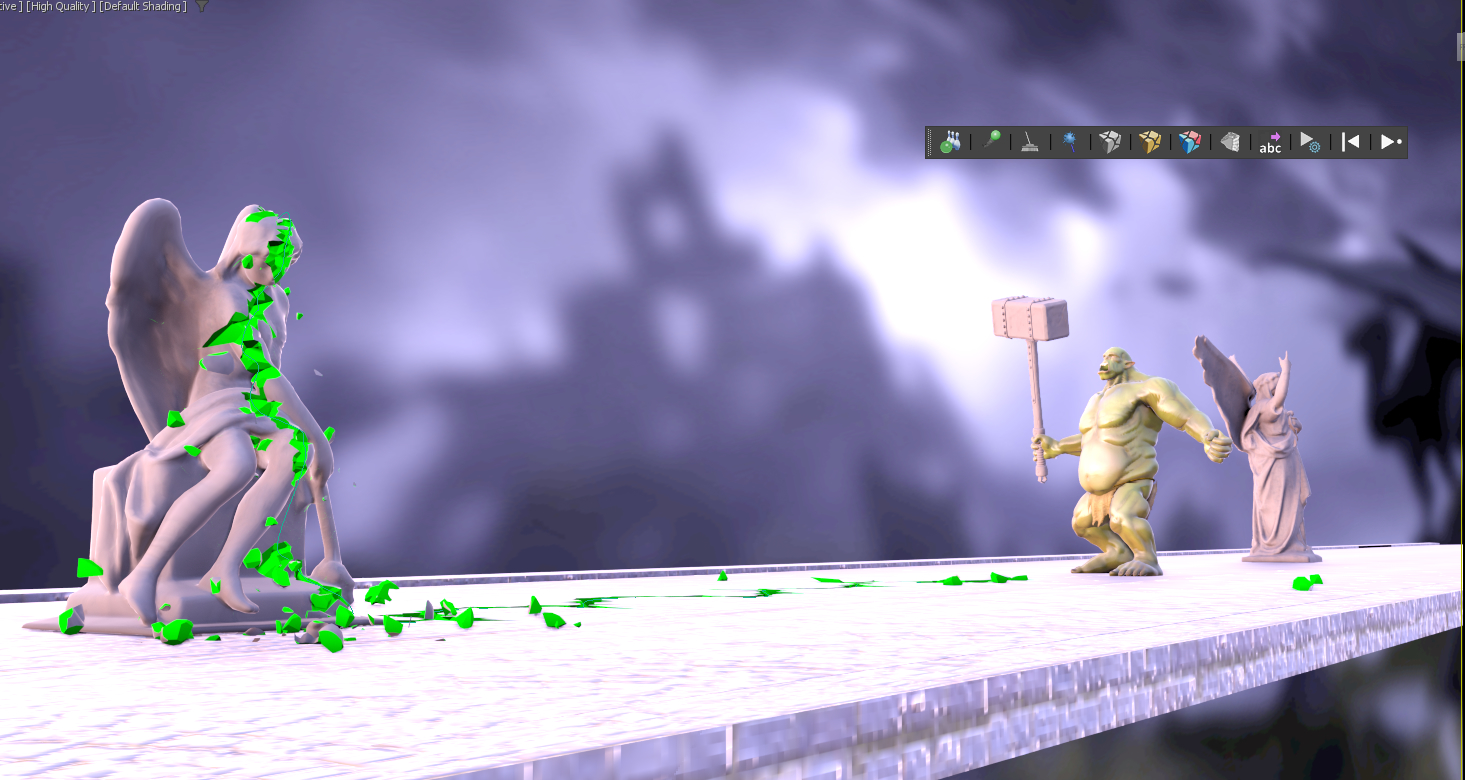
I destroyed the single element in 2 different passes, first was by using a Path Based shatter combined with an Uniform shatter of the ceiling, the first pass made of small fragments falling was driven by a PDI Cracker and for the second pass I created a big hidden sphere which impact the ceiling from the top making the big fragments detaching at the moment  I wanted. For shattering the windows I used a PDI Local shatter and triggered the outbreak with an animated PBomb of 3d s Max. I set every other object of the chamber as a PDI static body and bake the whole simulation as animation keys with Pulldownit.

Putting all together

concatenatedPasses

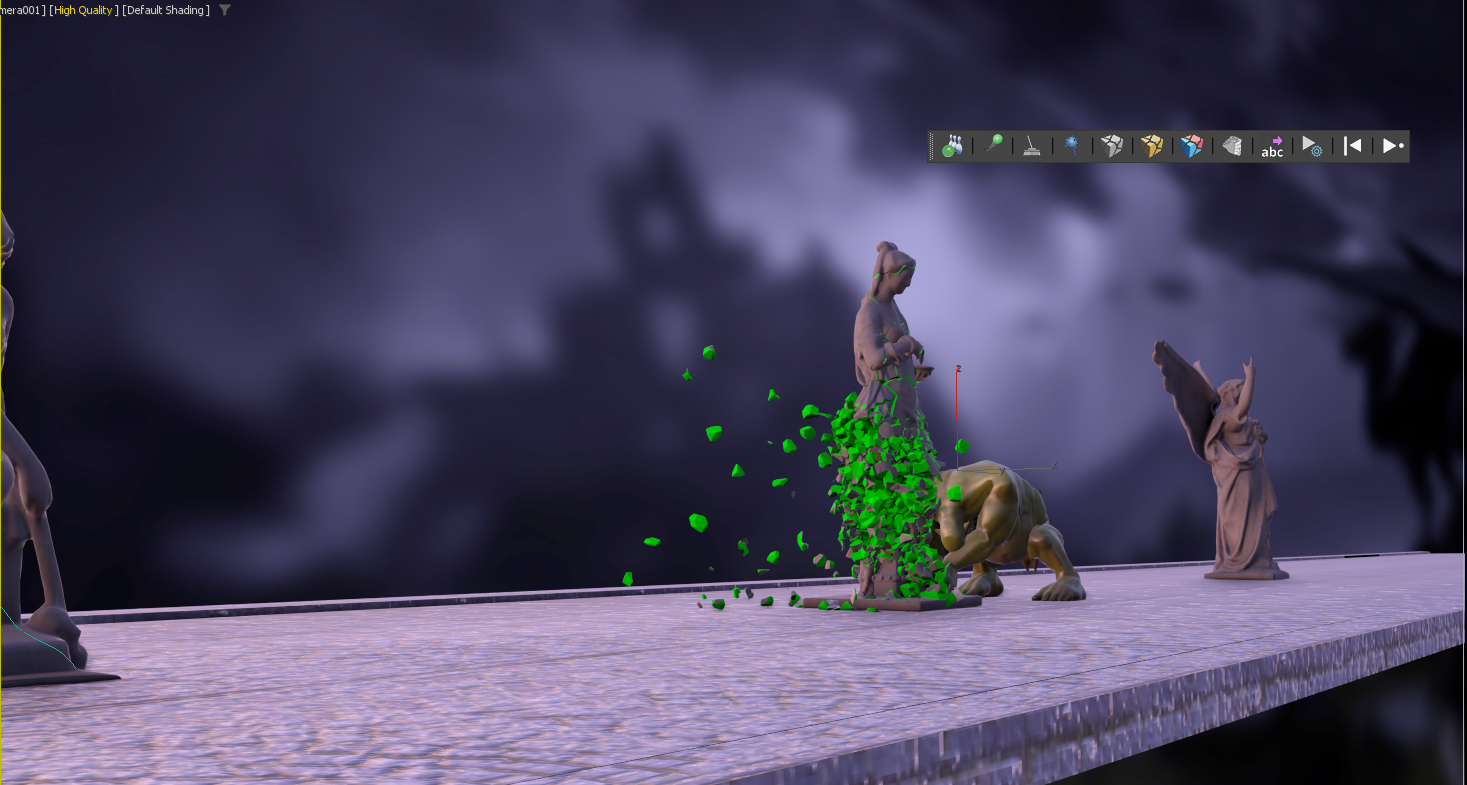
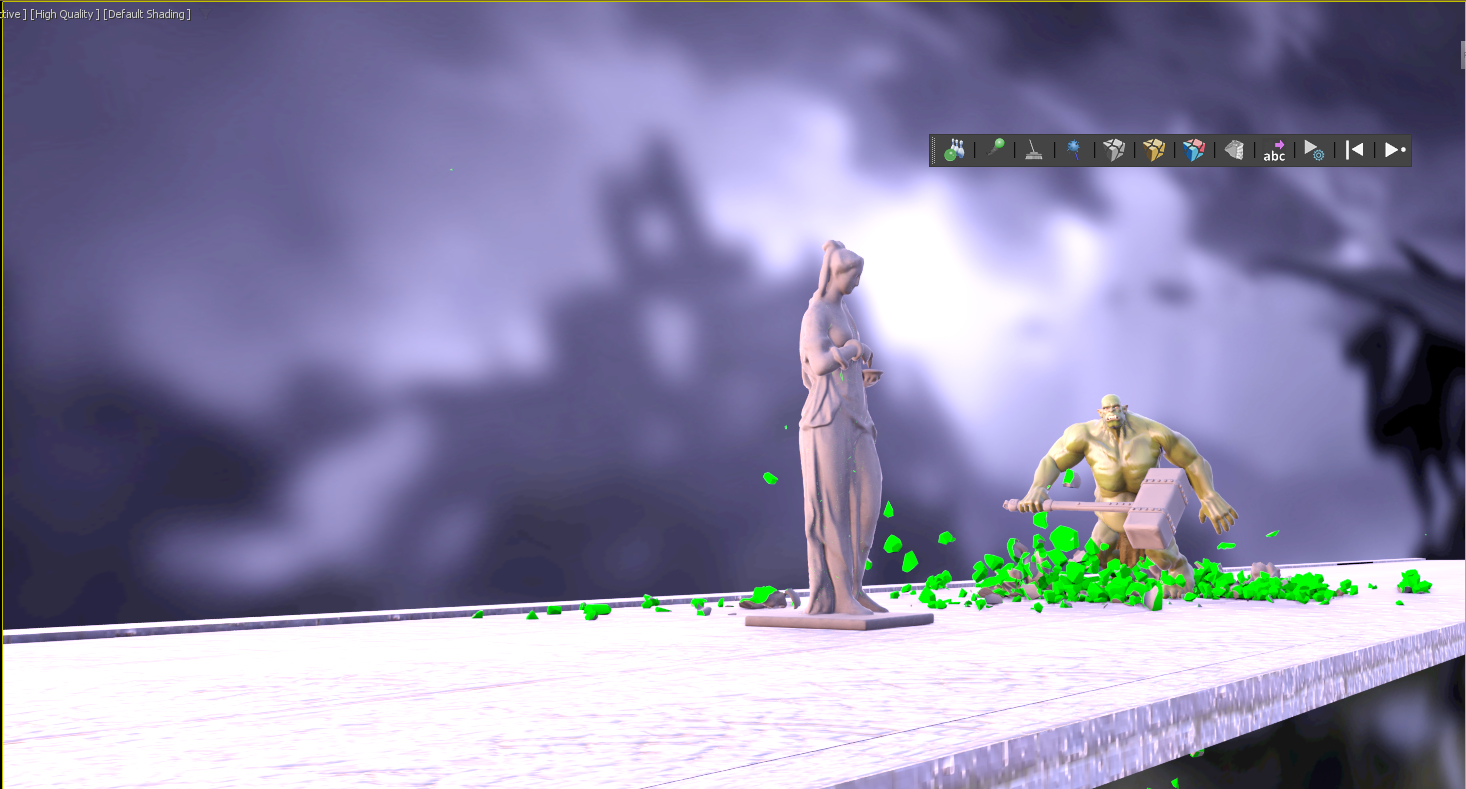
At this point I had the single chamber fully destroyed, to duplicate the effect in the rest of the corridor I used the PDI Acquire shatter option, this is  a nice feature which allows to apply the same shatter effect and animation keys to another instance of the same object. I did it several times until getting five consecutive chambers destroyed, to offset the animation in time I selected all animation keys for each chamber and shift them using the slider in 3ds Max. Finally to break regularity of the concatenated chambers, I simply remove all animation keys for some fragments preventing them to fall,  but selecting  the blocked fragments diferent in each one of the consecutive chamber.

It was a pleasant experience working with Pulldownit and 3ds max in this shot,  I could navigate the viewports with ease despite the amount of geometry involved  and the plugin behaved very stable for shattering and dynamics

Additional effects and Render

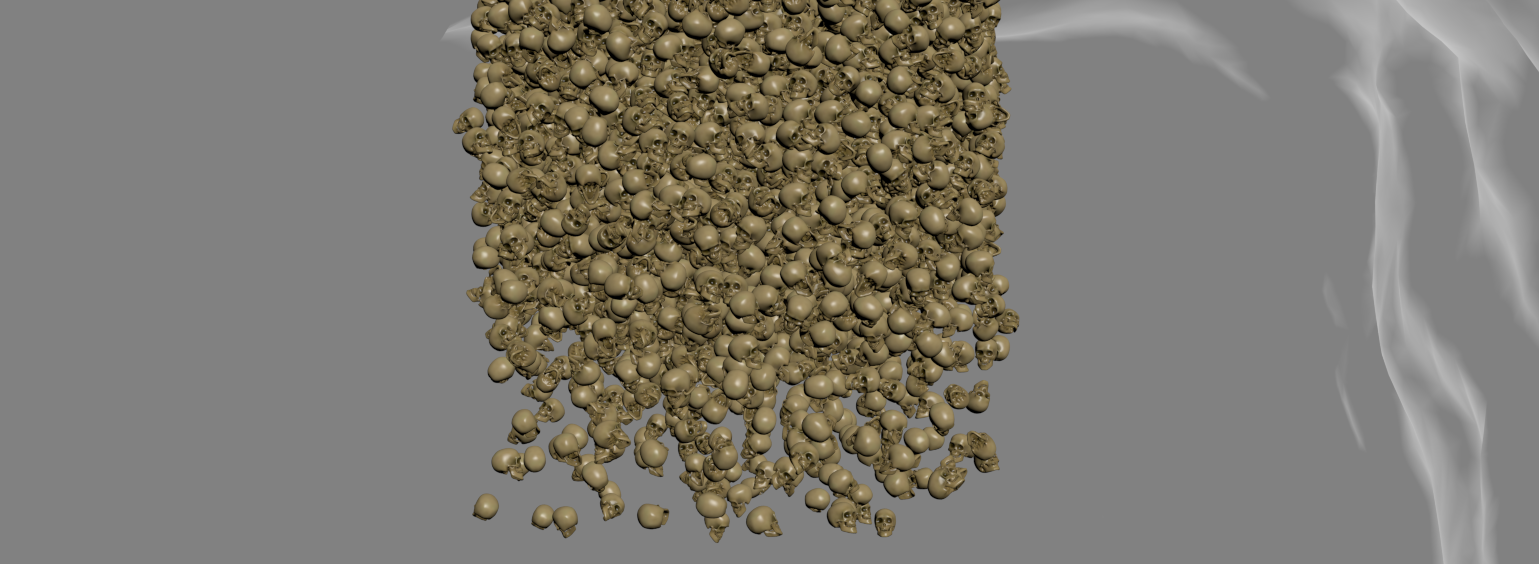
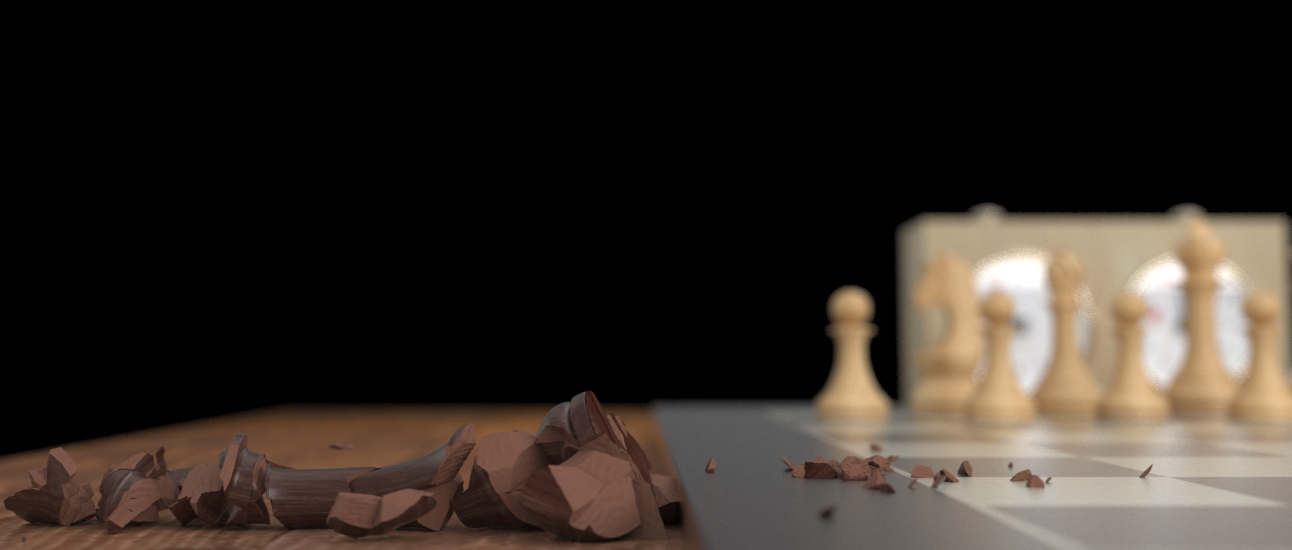
I added a few hundreds of very small debris emitting them from the  fragments of the first destruction pass,  for this I used Particle Flow with Position Object and Shape Instance operands, and I put an HD picture of a forest as an environment map for Vray, aside this I didn’t add any other effect to the scene,  I rendered the shot with VRay Next,  It took around 7 min per frame in a RTX 2070 card.

last

There are several  additional effects you can add in compo to a shot like this: depth of field , motion blur, etc..depending on what you want to strength of the scene, but I just added a camera shake  with Fusion, strengthen shaking when big fragments collide with the ground to increase the feeling of weight.


Robot escape from the Port by Andres de Mingo

Andres de Mingo kindly explains us the making of some complex effects using Pulldownit and FumeFX in 3dMax for his appealing destruction shot.

This project was about destroying a brick wall with an animated robot, I had done similar things in the past using Pulldownit and not difficult but this time I needed to create a thin long crack in the stucco before making the wall to collapse and in addition this crack should follow the trajectory of an animated  laser beam coming from the hand of the robot, that was the main challenge.

laserstart

Making the laser beam crack

The laser is a simple thin cylinder in 3ds Max with the height value animated to make it grow towards the wall, besides the cylinder has a Octane material  with emission per blue color, in this way it can illuminate the scene and finally to make it shine I added glare and bloom to the cylinder as a post process with Octane render itself.

To fracture the wall in the shape of a circle I created a circle spline in 3ds Max and put it inside the stucco, then I used the path-based shatter feature of Pulldownit to create the fragments, with around 200 shards, but I wanted the center part of the wall to break later so I added a second local shatter pattern in the middle of about 70 shards.

laserend

For making the crack following the trajectory of the light beam, I used a PDI cracker object attached to the circle path, then adding some keys to make sure the cracker had the same speed of the laser and by playing the simulation I got this appealing effect done in seconds.

Only problem was the center part of the stucco was falling to the ground after it became isolated, to solve it I attached the stucco wall to the bricks behind by selecting the option “Attach Nearest” of PDI Fracture Bodies.

httingthewallhead

Hitting the wall

The brick wall is made of small cubes attached together as a single object, I discovered this is important to get it broken in the shape of bricks in dynamics, otherwise the wall breaks as a continuous surface. I used a similar setup than the stucco, this time I created two concentric circle splines in both sides of the wall of same size, and shattered the wall in around 1200 shards with path-based pattern, then adding a local shatter pattern of around 600 shards in the middle, in this way PDI created small fragments in the contour of the circles perfect to crack them. Also to get the bricks as separated objects after shattering the wall I had to check the PDI shatter option “detect mesh-groups”.

httingthewall2

After getting the fragments created I made a fracture body for the whole thing including the stucco part and set it as static in PDI fractures options, also setting Clusterize to 0 to force the wall breaking only along the circle shapes.

I didn’t use the robot itself for this part of the shot, in its place I created a flat cylinder of the same size of the circle and animate it to hit the wall, so it pushed only  the fragments in the middle and hiding this object from rendering made the trick.

I rendered everything with Octane, because it is very fast and easy to use, maybe you have more features with other renderers but they takes much longer to get the final images ready.

addingdust1

Adding dust

After the PDi simulation was baked I started adding dust with Fume FX, I generated a slight wake of dust following the laser beam by simply emitting smoke from the same cracker object I’ve used before, as this object was already attached to the circle path that was easy.

For adding smoke to the wall when collapsing, I used Particle Flow in 3ds max to attach particles to the stucco fragments but only along the borders, I set around 1500 particles for this, then I set those particles as source in Fume.

Dust is heavier than the air so it must fall eventually to the ground, I played with gravity and buoyancy values until getting the desired look for smoke.

addingdust2

For rendering dust, I used Arnold because FumeFx  doesn’t support Octane, however at first I wasnt able to render fume with Arnold neither,  finally I had to convert the smoke to openVDB format and use an aiVolume with aiStandardVolume shaders with it, after that everything was pretty automatic except I had to set some parts of the robot that were in front of the smoke as matte shadow objects to render it correctly.

Dust was rendered in a separate pass and composed later in Fusion in this way it gives you a second chance to modify color and brightness to improve the look of the smoke.

Conclusions

conclusions

It was a nice experience working with Pulldownit plugin, in this shot there were different stages for destruction, first the stucco crack, then the hole in the middle and finally the robot passing through the wall, maybe the most surprising to me was PDI can make all of this effects using the same set in one run, without having to resort to more complex setup like preparing and hiding partially destroyed models and replace them at some moment. PDi was pretty reactive allowing me to get the results in seconds, modify parameters and compute again, that was great.

Adding dust to fragments with pFlow and Fume FX was also quite easy and fast computing.

Thank you Andres for sharing your experience in our blog!