Pedro ivan de Frias kindly explains us how he did this appealing shot of ice blocks breaking in an ancient cave using Pulldownit plugin for shatter & dynamics. You can see the final shot here:
MODELLING
First I made the cavern, starting from a simple poly-plane with a bit of noise as ground, a thick wall on one side and several leaning pillars on the other. The pillars were sculpted from poly-boxes and adding noise later, there are also some sparsed stones over the ground made in the same way. On the middle of the thick wall I managed to embed a velociraptor skeleton, I made the model some time ago and I thought it would be nice to include it in the cavern as a fossil, coming from the back of the scene there are several Budhas statues lined-up, I made it sometime ago aswell and I thought placing them on the entry to the cavern would make the set more mystic and bizarre, hope I got it.

In the middle of the scene I put 3 columns of ice, I made just one from extruded splines and smoothing the edges, as this object will be fractured later with PDi, I checked that topology was correct, I mean, closed surface, normals pointing ouside and so on.. , then I cloned the column and translate it to create the other columns, and rotating it in different directions for simulating the columns are different and saving work. Finally the impact object was made modifying it from a poly box.

Texturing & Lighting:
Creating the materials of the scene wasnt easy, the cavern is cover of ice everywhere, and the columns are made of ice themselves, sadly there isn’t a button in mentalray to create an ice material automatically, so I started to play with fall off of reflectivity and transparency channels until achieving the desired look, adding some channels with custom bitmaps to get an uneven look in the transparency effect , finally adding a bit of glow and selflighting.
For the inner material of the fragments created by PDi, I increased the transparency and used fresnell reflection. For the impact object I set a material which emits green light with fall-off, so in this way it illuminates each ice-block with a green-coloured light right before breaking it, creating a nice light-trough effect I think.

There are quite a lot of lights in the scene. An skylight as ambient an a sunlight and volumetric lights for the entry of the cave outlining all the shadows, I placed also a few area skylights here and there.
SHATTER & DYNAMICS:
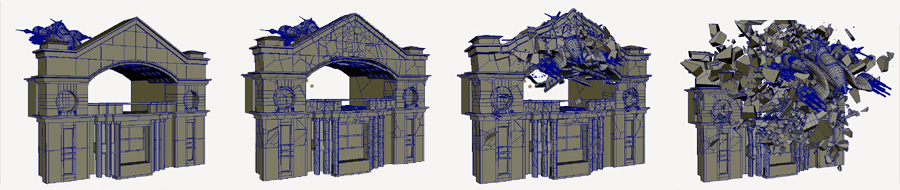
I wanted the columns breaking in little fragments in the impact area and generating big blocks of ice farther so PDi local shatter was perfect for it, making sure the “create pdi cut mat” option was set, I broke each column in 2200 shards, that’s a lot but PDi generated the shards in a few seconds and later it computed the dynamics of near 7000 fragments in scene quite well and pretty fast, amazing tool indeed.

I wanted the columns breaking in little fragments in the impact area and generating big blocks of ice farther so PDi local shatter was perfect for it, making sure the “create pdi cut mat” option was set, I broke each column in 2200 shards, that’s a lot but PDi generated the shards in a few seconds and later it computed the dynamics of near 7000 fragments in scene quite well and pretty fast, amazing tool indeed.
After shattering the columns, I set the PDi fracture bodies, by checking the “relative to mass” parameter little fragments break easier than bigger ones by default, just what I needed, in addition I wanted the top and bottom parts of the columns not to move, for getting it I used Pdi advanced fractures to set those parts static.

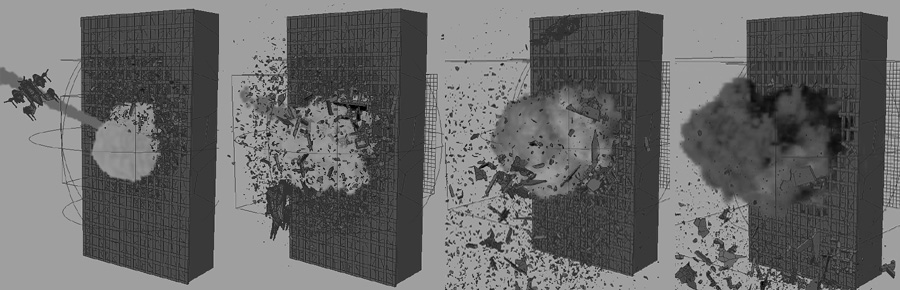
For the rest of the scene I simply set all objects to Pdi rigid body as “auto”, It worked fine for most objects however a few large stones of the environment have complex shapes and I had to set them as Pdi rigid “mesh” to get correct collisions with them. The impact object is animated with keys, following a straight line and rotating around so I set it as rigid “mesh animated” so it kept the animation keys when moving and colliding,
Going into dynamics I set friction parameter very low to get the sliding motion of ice, that worked very well but sadly two other issues came up, when the impact object hit the first column the fragments were flaying away unexpectedly, by other side second column started to collapse before the rod even hits it . After researching on it , it seems the fast spinning motion of the rod was causing the increase of energy on the fragments making them fly away too much, reducing the Bounciness of the fragments and increasing linear damping of the fracture bodies I managed to control the blowup pretty well, for the other issue what happened was some fragments of the first column hit on the second one causing it to start breaking in advance, to fix it I simply set the new option “unbreakable until frame” for the columns and they stand up perfectly until being hit. Once those issues were fixed I played with hardness and clusterize parameters to get different looks of fracture and finally set hardness around 150 and high clusterize becouse the fracture looks nicer to me.

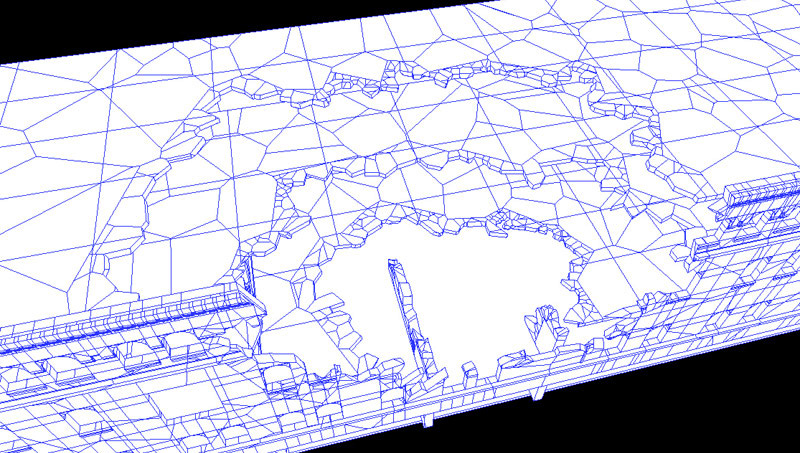
Pdi tooks around 3 hours with substep 15 to compute the whole destruction, pretty fast having in account the near 7000 fragments involved. After the computation was done I added jagginess to the fragments, a great, great option in PDi to get a less polygonal look, and it worked like a charm setting a resolution of 1 and low strenght, because ice blocks looks near polygonal I think.
Render & Composition:
I sent 14 diferent passes to render with mental ray using LPM manager for this. Rendering tooks much more than usual because the transparent and reflective shaders of the ice. I wanted a slow motion effect just when the rod hit each column, for getting it I had to change the time rate of the animation to 30*4 and render those passes separately and compose with those of normal speed later. All passes were composed together adjusting color and contrast in local areas,
I stressed light through the entry of the cave by setting a bright background outside and applying a lightwarp of it to the rest of the passes.

Author: Ivan de Frias
http://vimeo.com/pytonproducciones

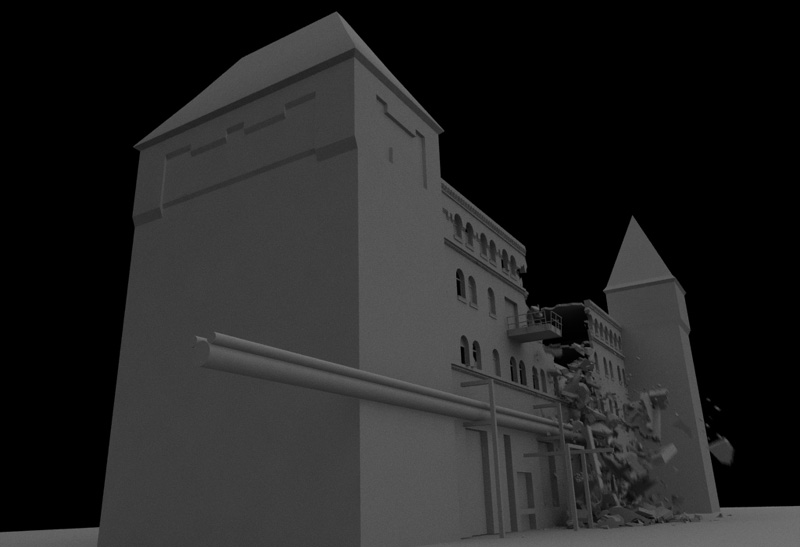

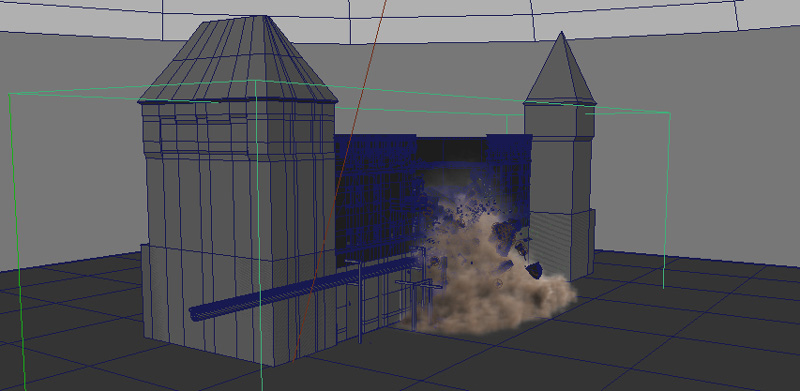
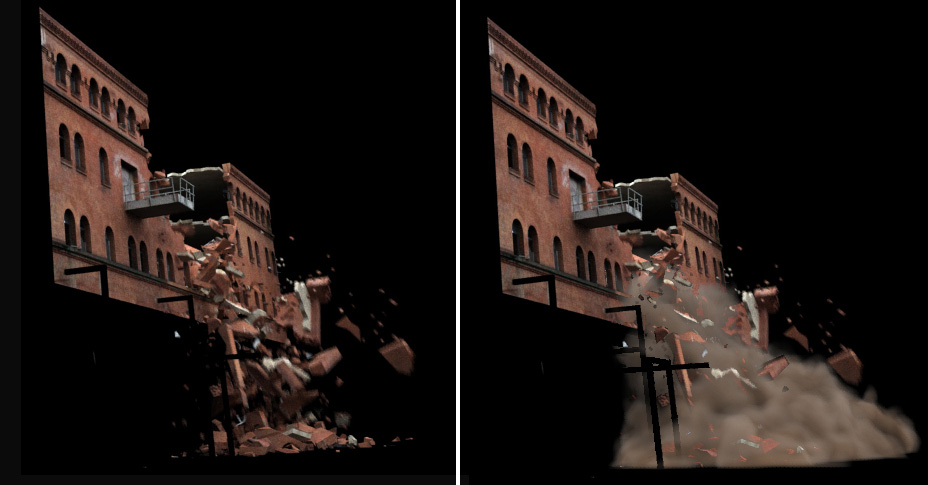
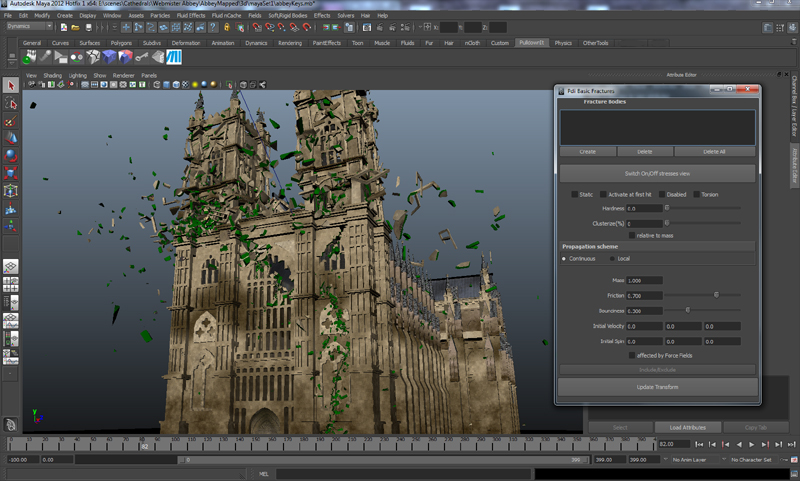
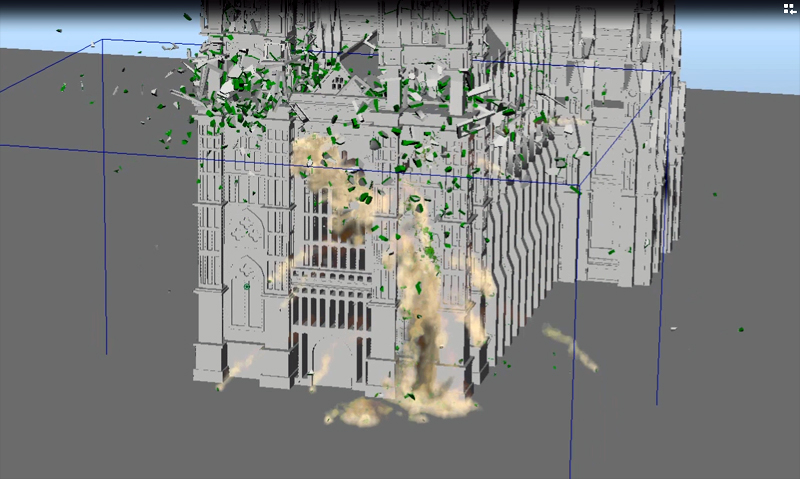
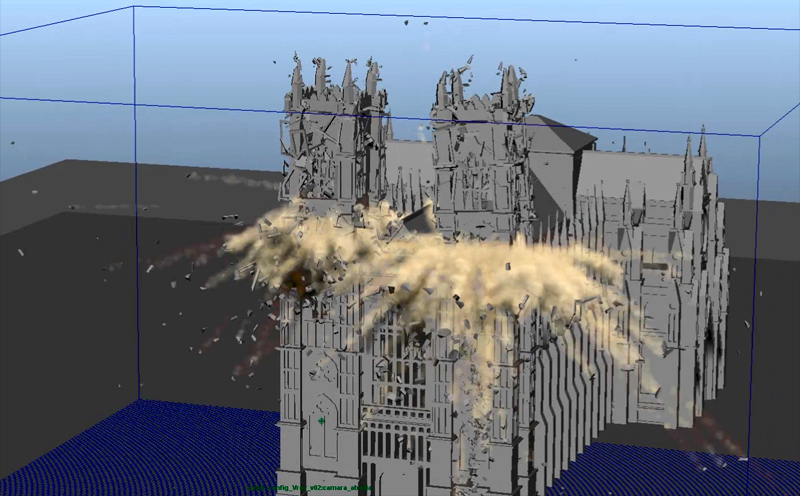
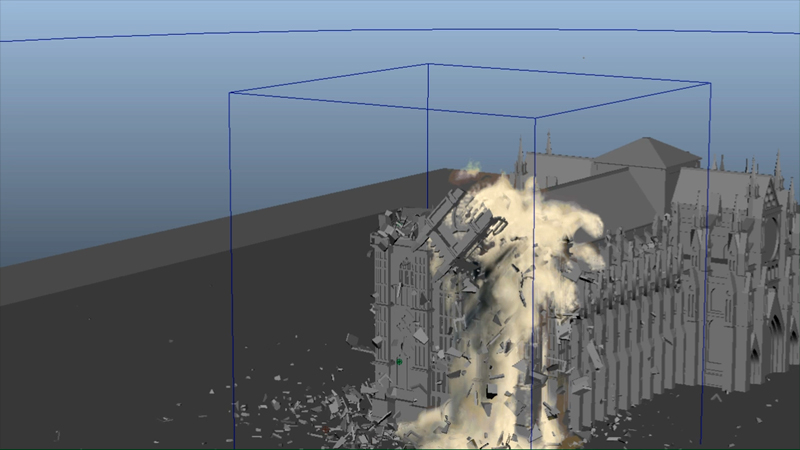
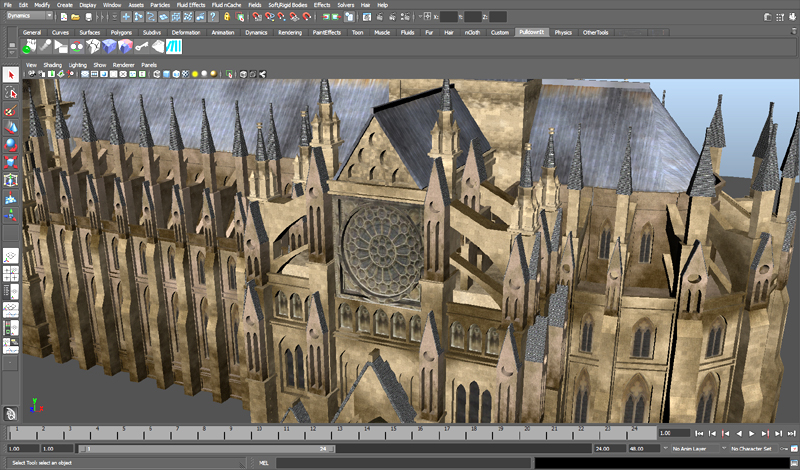
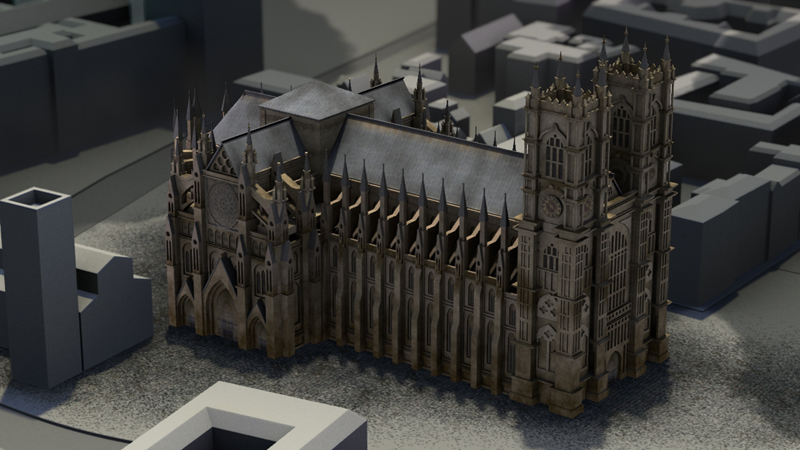
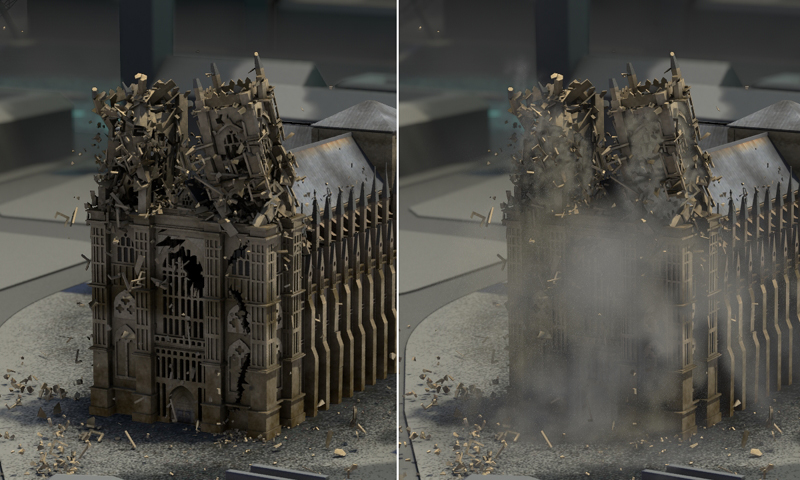
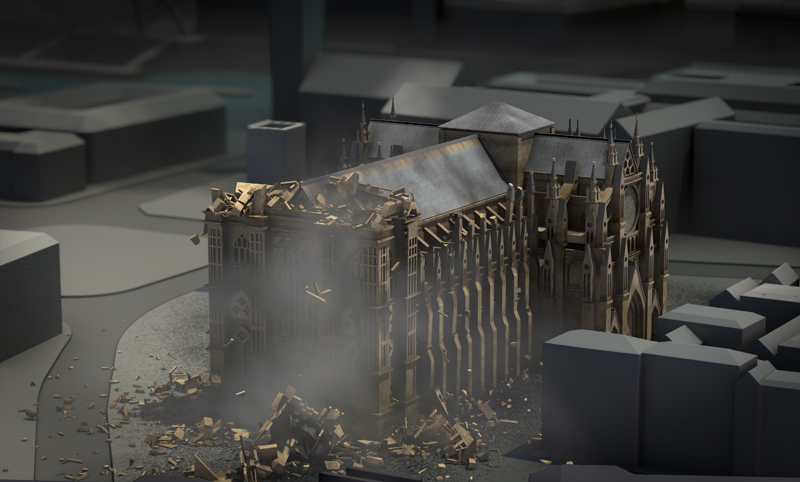
 , this time was the turn of Westminster Abbey in the heart of London, destruction was integrally done in Maya using Pulldownit plugin and Maya fluids, in this review the team explain how we made it.
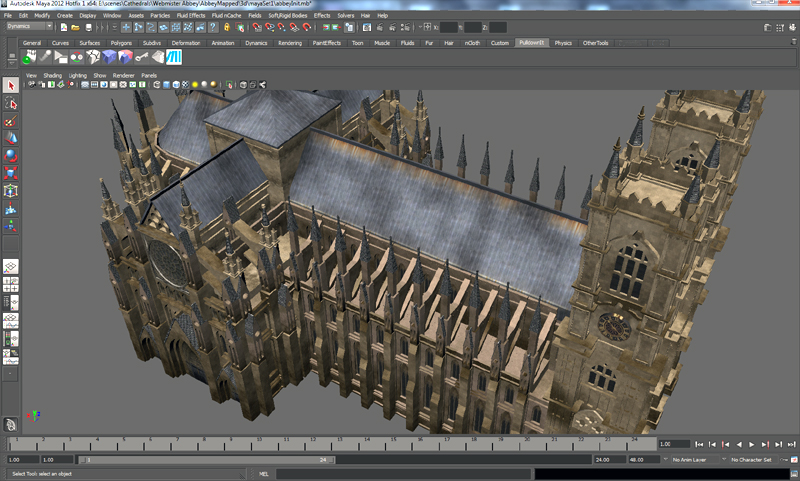
 , it is just a great CG job by our friend Przem Sacharczuck using Pulldownit plugin in Maya. He kindly explain some details about production in this article.