Pulldownit plugin is already available for Maya 2019, you can download it from the users area if you have licensed the plugin or download demo version from the web site in case not. You can review latest features and demos of Pulldownit 4.5 here:
Pulldownit 4.5 for Maya new features
There was a great expectation about Maya 2019 because it was taken much longer than usual to be released, many users’ thoughts were about some big new feature was coming, but finally Autodesk has focused this release in usability of the tool and performance by presenting an impressive long list of bugs fixes and a few but important improvements when using the software in production.
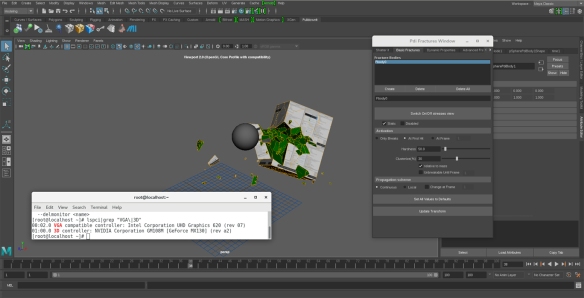
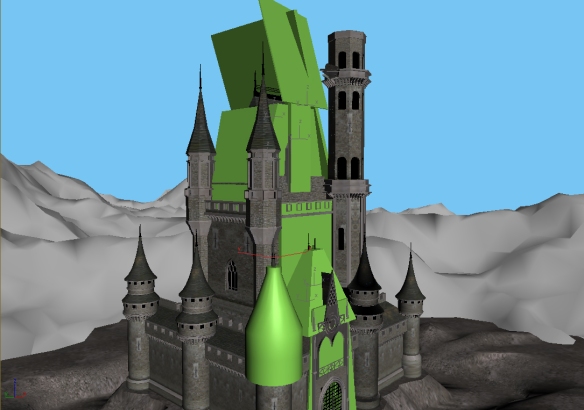
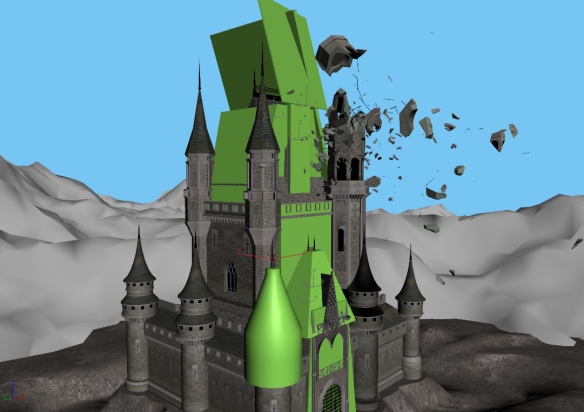
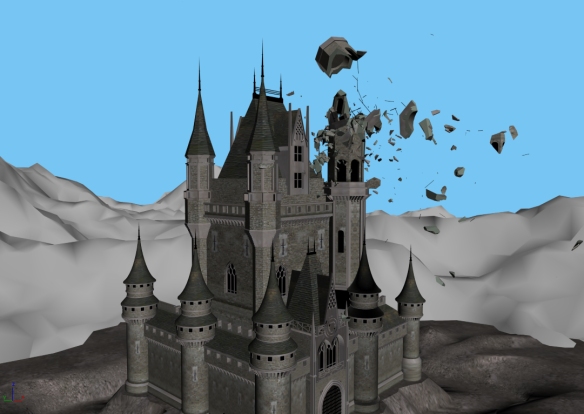
The major enhancement in Maya 2019 is the new cached playback feature, by using it you can speed up the playback of complex scenes or get a sustained frame rate directly in the viewport removing the need to playblast the scene to review issues, in addition you can modify keys freely and the cache auto updates quickly taking in account the changes so you get indeed a faster workflow specially for animation. Cached Playback is intended to be used with keyframed characters or some types of cached animations so all the dynamics solvers inside Maya: Nucleus, MASH, XGEN etc.. doesn’t support it. The same happens with Pulldownit, you cannot activate cached playback while computing dynamics however after baking keys and delete all PDI bodies you can enable it to speed up the playback in viewport, in our tests with scenes including around 1000 fragments this new Maya cache double the viewport FPS running at near 70 FPS, and if you export the destruction to Alembic the playback is even faster reaching a speed to around 90 FPS in average. Here a quick tutorial about using Maya 2019 cached playback with Pulldownit simulations:
There are other improvements regarding animation keys, two new filters has been added, Butterworth and Key Reducer, the first one is intended to clean noise in animation capture data and the second is useful to remove needless keys in the animation.
Besides the integration of Arnold Render in Maya is becoming deeper with each update, in version 2019 you can use Arnold render inside one Maya viewport or render regions directly in the viewport 2.0
Autodesk also claims complex scenes now load faster and interactions with viewport 2.0 are quicker, in our experience that’s true so far, so even if some people is disappointed for the lack of brand new features in other fields we think Autodesk has done it right making Maya faster and more reliable in this release, users should notice it in his everyday work.