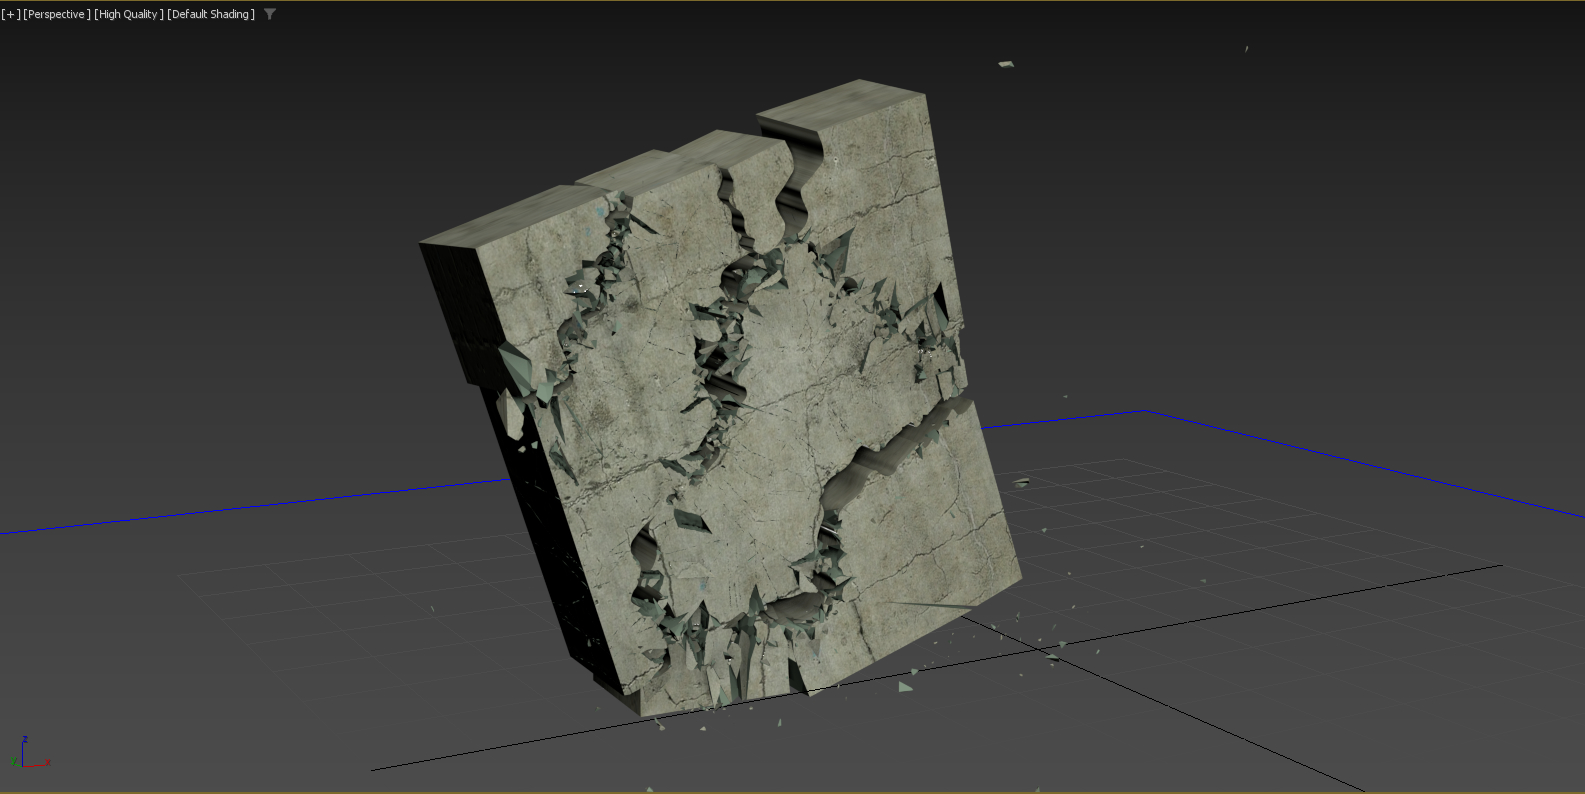
In this great tutorial Esteban Cuesta shows us how to use the freehand spline tool and boolean modifier in 3ds Max 2024 to make rough custom cuts over a model, then turn cracks look “organic” by using the Pulldownit plugin to generate secondary cracks and debris on top of it.
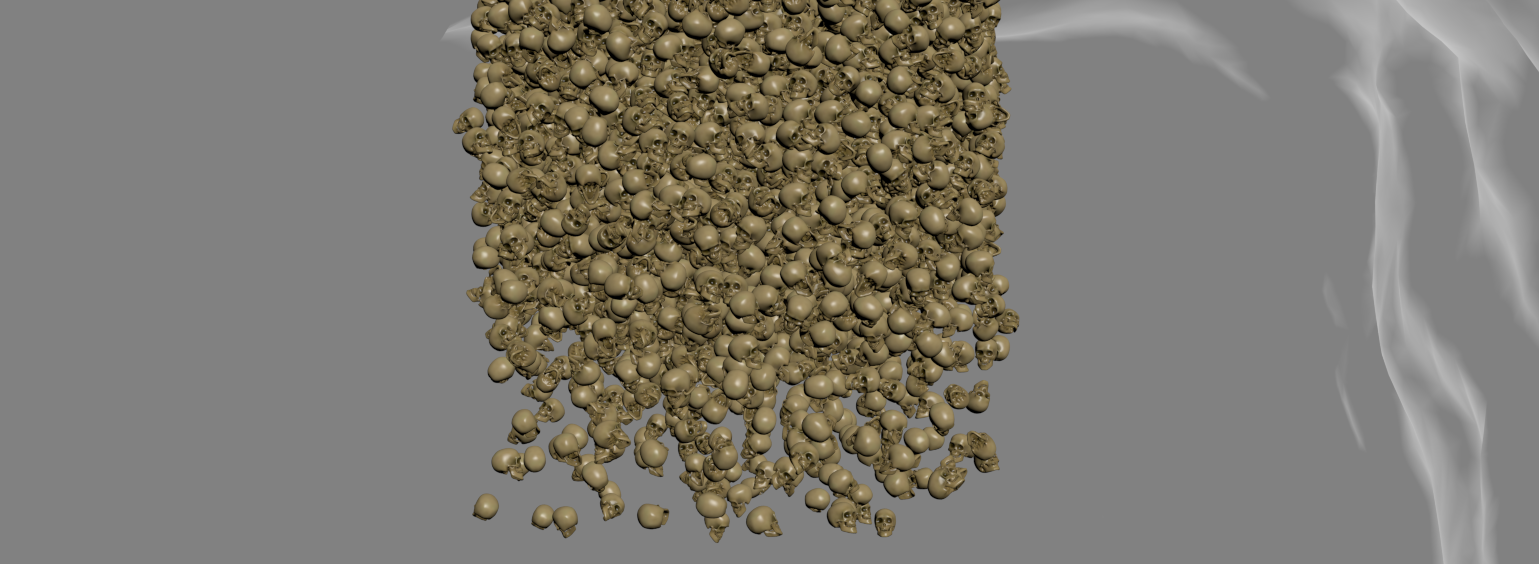
Andres de Mingo made this nice shot, an animated character breaking some skulls and then 5K skulls falling over it, done in 3d Max using Pulldownit plugin for all dynamics effects.
Breaking the skulls on the cave floor
All skulls are set as static convex bodies to be activated at first hit, the hammer is set also as a kinematic convex body to speed up computation, the floor of the cave isn’t flat so I had to set it as a static mesh body to can use its real shape in collisions, also I made a couple of large boxes on both sides as barriers to prevent skulks rolling out of the camera view, those barriers where hidden in render, some skulls breaks when being hit, they were shattered in around 120 fragments each one combining both uniform and local styles, and I set them as static “first hit” fracture bodies, after playing the simulation with PDI the skulls reacted to the hammer impact and got broken nicely at a very fast computation rate.
Making The skulls stack
Starting with a single skull I created 5000 instances using the make array tool in 3ds Max, then I set all of them as PDI dynamic convex bodies, however the stack was completely uniform, like a box of objects, to get a more natural look of the skulls falling I set random initial velocities for them using PDI and compute a few frames before the skulls where visible in camera, so when reaching the stage they were nicely disordered.
Destroying the Skeleton
I set the animated skeleton as a kinematic body and create 3 additional falling skulls hitting it in the head and shoulders at specific time according to character animation, but the most tricky part of the shot was destroying the skeleton, for this I created a frozen copy it, I set it as a PDI convex body and hide the duplicated skeleton, then when the stack of skulls reached it I replaced the animated skeleton for the dynamic one and this made the trick, the skeleton parts were falling while being hit and covered by the skulls.
Conclusions
You can find the skulls, skeleton and other cool models by Andres de Mingo in
Pulldownit 5.8, is already available for Maya 2025, this version includes instanced shapes supported in the core solver allowing to create hundreds of instanced rigid bodies almost instantly and a 20% faster simulation with instances, along with several fixes you can review in the version logs page.
Maya 2025 itself brings a number of updates in animation, modeling and rendering. Originally introduced in 3ds Max , Smart Extrude is now available in Maya, this powerful mesh modifier lets to interactively extrude faces in the viewport and eliminates the need to manually repair geometry, you can cut faces partially or even make holes in the model in one run.
Maya 2025 brings several useful updates in animation, a new deformation widget has been added to the Attribute Editor which lets quick review deformers and topology modifiers that affect an object, Bake Deformer now allows to set a custom range of motion for Poses/keys aside other various customer requests included.There is a new Motion Trail Editor with an icon shelf for faster access, this new feature gather all Motion Trail-related utilities in a single spot, also the Dope Sheet has been reworked for a quick, intuitive way to understand, manipulate, and adjust animation timing.
USD plugin update to version 0.27 with the ability to bulk load and unload multiple prims, and the LookdevX editor introduces support for the MaterialX data format alongside USD shaders.
In the simulation field Bifrost now integrates the classic Maya Ocean Simulation System but with several improved features, as new nodes for simulating ocean waves with foam.
Finally Arnold render updates to version 5.4.0 with faster GPU rendering and MaterialX support.
OnMars3D review and test many of Maya 2025 new features in this nice video:
NOTE: Users of Puldownit 5.x cloud floating licenses must install this update to can connect to the licenses server.
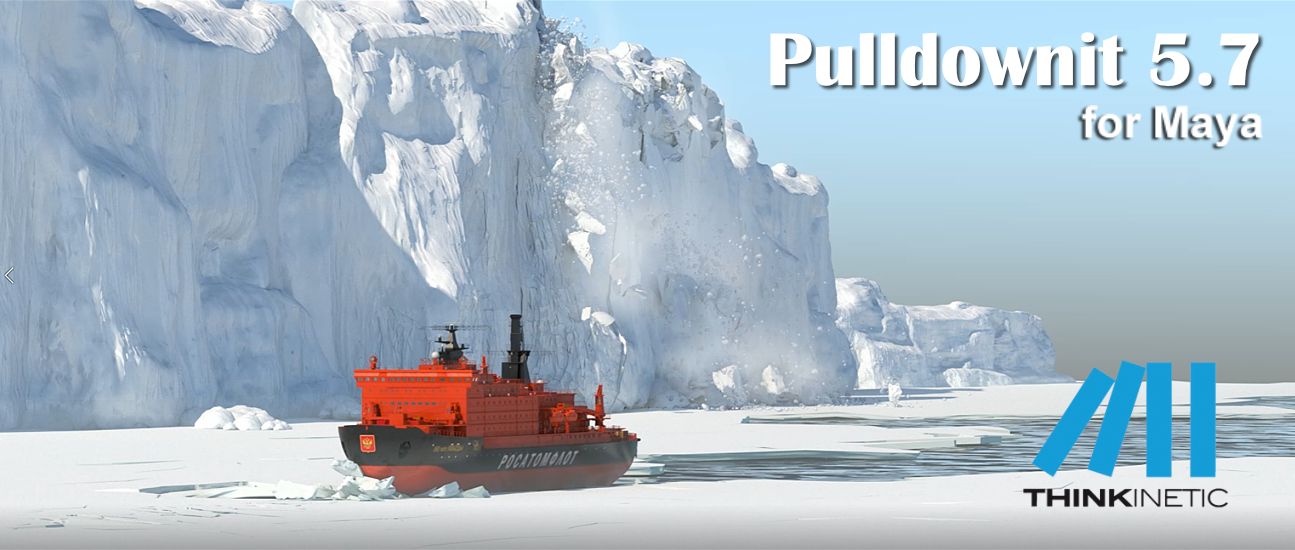
Pulldownit 5.7 is here! this new version introduces a new Fast Stacking & Deactivation solver which computes up to 4 times faster in massive destruction scenes, in addition instanced shapes are supported for dynamics and shattering so you can compute thousands of hi-poly objects in dynamics seamlessly and with much less memory overhead.
Animated characters now computes faster when colliding and fracturing other objects, and a new Anim Speed Multiplier parameter allows to fine tune the strength of the impact between animated objects and dynamic ones, besides cracker multiplier can be animated allowing to decrease or disable the crack effect at any frame.
Regarding shattering, PDI Jagginess gets a new “Asymmetric tessellation” mode which generates nearly 50% fewer polygons with a similar look of rough faces than when using Uniform Tessellation.
There are also useful improvements to the UI, a new option to create several fractures at once and you can add jagginess to all PDI fragments in scene with one click. Hierarchies of rigid bodies can be auto created just by selecting its parent group, and there is a new option to set all dynamic values to default for selected rigid bodies.
Last but not least we have fixed quite a few annoying issues from previous version,you can review below all performance and usability improvements and you can check the whole list of fixes in the Pulldownit version logs page:
Licensed users can already access Pulldownit 5.7 from his account and there is a demo version for Maya 2024 in the Thinkinetic web site.
Shatter New Features
Shatter it support instanced shapes, instanced shapes are supported and can be shattered and reshattered seamlessly.
New Jagginess mode “Asymmetric tessellation”, this new tessellation mode generates nearly 50% fewer polygons than the Uniform one with a similar appearance of rough faces.
Dynamics New Features
New Fast Stacking & Deactivation solver, scenes involving hundreds or thousands of fragments in dynamics now computes up to 4 times faster, besides this new solver highly reduces drift motion of fragments resting in the ground.
Instanced shapes supported as rigid bodies, PDI solver now supports instanced shapes in dynamics, allowing to compute massive simulation of thousands of objects with less memory overhead.
Improved performance in fracture against animated bodies, animated or deforming objects now computes faster when colliding and breaking other objects, besides user can easily control the strength of the impact with the new anim speed multiplier parameter.
UI Enhancements
New parameter Anim Speed Multiplier, allowing to easily control the strength of the impact between animated objects and dynamic ones.
New ability to animate cracker multiplier, user can now modify the strength of the crack effect during the simulation or disable it completely at desired frame.
New Fracture setup option “One per Shatter Group”, allowing to create several fracture bodies at once from the current selection of objects.
New option “Add Jagginess to All fragments”, allowing to add jagginess to all PDI fragments in scene with one click.
New “Fast Stacking” simulation option, user can revert to classic, more accurate, but slower stacking solver by disabling this option.
New ability to auto assign unique names to duplicated nodes, when selecting nodes to create rigid bodies from them PDI will rename any duplicated node automatically if authorized by user.
Animatable fracture parameters are auto displayed for current selected object.
New ability to create hierarchies of rigid bodies just selecting its parent group.
New UI option “set all dynamic values to default” for rigid bodies.
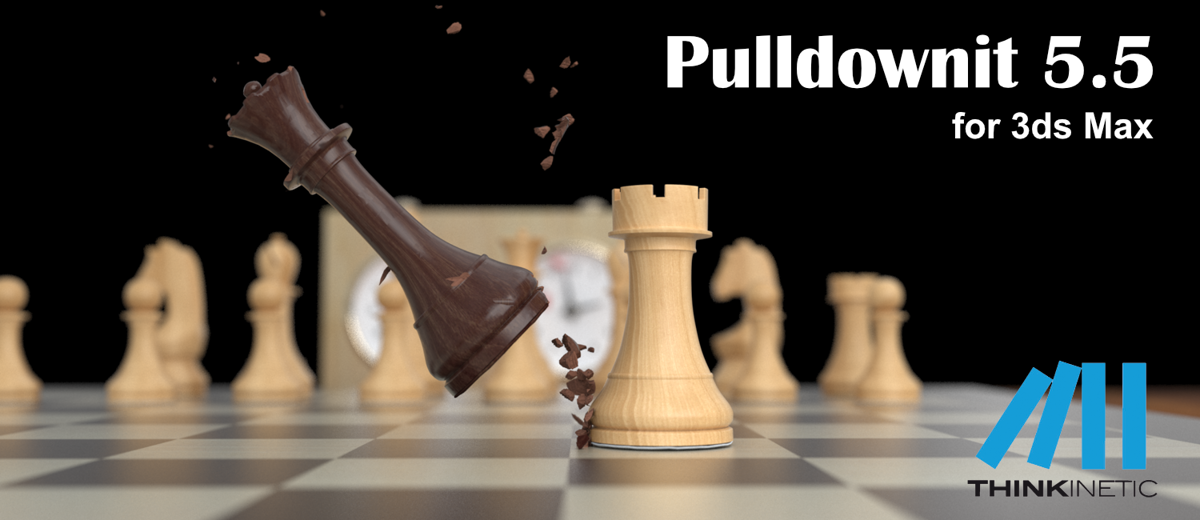
Pulldownit 5.5 for 3ds Max comes with important updates, Shatter ittool has been multithreaded and highly optimized, getting up to 4x faster shattering with regards to previous release, allowing to shatter hi-poly models in hundreds of fragments in a few seconds. Creating Chipping areas on the model is now faster as you can discard shatter centers directly in the viewport just by clicking the mouse over it.
Cracks generation computes now 2x faster and Bounded Cracks has been enhanced with the ability to turn them dynamic at the desired frame, allowing to create easily stress cracks that ends up tearing the surface completely at some moment.
Working in complex destruction scenes is easier and more intuitive, in cases of many objects fracturing, dynamic solver has been adjusted to get nice fracture results with default parameters and when two objects collide each other you can decide which of them will break in first place simply by reducing its hardness value.
Regarding the UI, in this new version you can create several fracture objects at once or create several crackers at once and modify them, there are other nice additions like toggle display of all crackers paths with one click.
Last but not least we have fixed quite a few annoying issues from previous version, making the tool more predictable and reliable than ever.
You can review below all performance and usability improvements and you can check the whole list of fixes in the Pulldownit version logs page:
Licensed users can access already Pulldownit 5.5 from his account and there is a demo version for 3ds Max 2024 in the Thinkinetic web site.
Shatter New Features
Shatter it multithreaded, getting up to 4x faster shattering allowing to shatter an object in hundreds and thousands of pieces in a few seconds.
New ability to remove shatter centers directly in the viewport, when in Shatter it draft mode simply by clicking mouse + ctrl key, the selected shatter center is deleted.
Dynamics New Features
Cracks Generation 2x faster, stress cracks or combinations of stress and dynamic cracks now computes 2 times faster.
New ability to generate Bounded Cracks until frame , stress crack propagation can be set to last until desired frame, after that it continues as an usual dynamic crack.
Initial velocity can be set for “activation at frame” fracture bodies, linear and angular velocity can be added to static fractures bodies, setting in this way the initial motion direction when the object becomes dynamic.
More intuitive behaviour in collision between fracture bodies, user can decide which of them will break in first place simply by reducing its hardness value. Besides small fragments collisions don’t trigger fracture anymore, therefore fracture activation starts always at the exact impact moment between the two objects.
UI Enhancements
New Ability to create several fracture bodies at once
New ability to set parameters for several fracture bodies at once.
New ability to set initial velocity at random for many fracture bodies
New ability to edit name of selected Cracker.
New ability to show/hide all Crackerspaths at once.
New ability to set parameters for several Crackers at once.
New ability to create Crackers for all parented curves at once.
Some users has asked if it is possible to decide the leaning direction of a model before breaking it completely with Pulldownit; the answer is yes, you can do it and very easily.
For choosing the leaning direction you have simply to select the fracture object in PDI Basic Fractures tab, then go to Fractures->Dynamic Properties tab and set initial velocity according to your desired leaning direction, that’s all.
If your initial velocity parameter is greyed out you have to set Basic Fractures->Activation to “at frame” or “At first hit” to enable it. Here a demo video of the effect:
Notice the bigger initial velocity, the leaning will be faster, so better to set it to small values to get a natural motion of the model.
Maya 2024 itself brings a number of updates in animation, modeling and performance, and native support for Apple Silicon chips in Macos systems. This new version introduces a novel Graph Editor Sculpting feature, allowing to drag or smooth animation curves in brush-like style to make adjustments on the fly. In addition, animators con now display all skin weights values directly in the viewport and multiple Skin Clusters are supported. Besides the Time Slider has been redesigned for better handling of keys selection ranges and audio waves visulaization. Finally Autodesk claims of significant performance improvements, especially when playing back animation on complex rigs.
Regarding modeling, Retopology tool has got a number of updates,a new symmetry option allows to get the same exact topology at both sides of the model, and there is new options for preserving edges by angle or component tag, also user can now display both input mesh and retopologized one simultaneously, allowing to compare result and adjust areas visually and there is a new option to pre-check mesh during Retopologize to quickly identify and fix mesh issues.
An there is a new unsmooth option which lets you simplify a smoothed mesh, useful for creating low resolution versions of 3D models, although currently only works with meshes subdivided by the Catmull-Clark method.
The old good Make Live tool has got an useful improvement aswell, now It supports multiple objects, speeding up the drawing of splines or quads over existing geometry.
USD support introduces LookdevX, a new material editor for creating USD shaders inside Maya. It is independent of the classic Maya Hypershade tool therefore counts with its own editor, according to Autodesk it is intended to work seamlessly across multiple DCC tools in the pipeline.
In the simulation field Bifrost updates to version 2.7 introducing a new MPM solver able to simulate snow and high viscous matter like toothpaste, ketchup or ice-cream along with improved volume rendering in the viewport.
AntCgi review and test many of Maya 2024 new features in this nice video:
Pulldownit , the destruction plugin, is already available for 3d Max 2024 , you can learn more about latest features of PDI in this great tutorial by Esteban Cuesta:
3d Max 2024 itself brings quite a lot of new features for modeling, animation and rendering and a high performance boost when working with STL models.
In the modelling field introduces a brand new boolean modifier, contrary to classic compound objects, boolean operations are now managed in the modifiers stack so user can remove or re-order them seamlessly, in addition it can convert the model to an OpenVDB version making the boolean operation more robust and independent of the source topology.Array Modifier introduced in previous version gets a new Phyllotaxis distribution mode for generating spiral pattern as seeing in many natural structures like flowers. The whole Modifiers tab has been ported to QT making it faster navigation and includes a handy search filter for fast selection on the long modifiers list.
The slate material editor has been rewritten using QT making it much more customizable, and besides user can now package several nodes into one single compound for better legibility when working with complex graphs. In addition there is a new Material Switcher node allowing to quickly change the material of an object for fast look-dev workflow
Animation has got also an important update, a new “Transform List” controller allows to add multiple controllers to an object and blend them together, in addition motion paths can now be displayed and adjusted in viewport for all controllers types.
Max 2024 introduces support for the OCIO colour-management broadly used in the animation industry although Gamma workflow is still the default mode, MaxToA now supports OCIO standard as well.
So a noticiable amount of improvements, Autodesk continues strengthen 3ds Max for polygonal modelling and visualization task, though there are some important enhancements for animation this time, hope it continues in the following updates this year.
Eloy Andaluz introduces all of these new features in a great demo video you can review here:
Sony Santa Monica has published a nice article and video about Art Blast in latest God of War game showing destruction effects and beautiful environments that can be cracked and damaged during the game.
Blasting through structures, cracking ice, shattering earth – the Breakables Team makes each crash look just as satisfying as it feels in-game.
Aside in-game physics they have used baked simulations with Pulldownit in Maya adding hand key modifications to get the look they wanted, indeed Pulldownit plugin allows to fix or modify baked simulation easily by editing animation keys for fragments or rigid bodies.
Besides Cynthia Fenton, breakable artist at Sony Santa Monica Studio, has posted a stunning video showing his work in God of War Ragnarok using Pulldownit plugin for destructions effects, you can see it here:
Pulldownit 5.5 is here and comes with useful updates, Shatter it tool has been multithreaded and highly optimized, getting up to 8x faster shattering with regards to previous release. Chipping areas of the model is also faster and you can discard shatter centers directly in the viewport just by clicking the mouse over it.
Bounded Cracks introduced in version 5.0 has been enhanced with the ability to turn them dynamic at the desired frame, allowing to create easily stress cracks that ends up tearing the surface completely at some moment.
Working in complex destruction scenes is easier and more intuitive, in cases of many objects colliding, dynamic solver has been adjusted to get nice fracture results with default parameters and when two objects impact each other you can decide which one will break in first place simply by reducing its hardness value.
Maya Cache Playback is now supported after baking simulation keys for the whole scene, this allows user to play the simulation at a fast, sustained rate and recover dynamic data afterwards to make changes if needed.
There are also useful improvements to the UI, you can modify parameters for several fractures at once and create several crackers at once or toggle display of all crackers paths with one click.
Last but not least we have fixed quite a few annoying issues from previous version, making the tool more predictable and reliable than ever.
You can review below all performance and usability improvements and you can check the whole list of fixes in the Pulldownit version logs page:
Licensed users can access already Pulldownit 5.5 from his account and there is a demo version for Maya 2023 in the Thinkinetic web site.
Shatter New Features
Shatter it multithreaded along with other performance improvements that makes shatter an object in hundreds and thousands of pieces around 8x faster than in previous release.
New ability to remove shatter centers directly in the viewport, when in Shatter it draft mode simply by clicking mouse + ctrl key, the selected shatter center is deleted.
Dynamics New Features
New ability to generate Bounded Cracks until frame , stress crack propagation can be set to last until desired frame, after that it continues as an usual dynamic crack.
Initial velocity can be set for “activation at frame” fracture bodies, linear and angular velocity can be added to static fractures bodies, setting in this way the initial motion direction when the object becomes dynamic.
More intuitive behaviour in collision between fracture bodies, user can decide which of them will break in first place simply by reducing its hardness value. Besides small fragments collisions don’t trigger fracture anymore, therefore fracture activation starts always at the exact impact moment between the two objects.
UI Enhancements
Maya Cache Playback supported after baking PDI keys for the whole scene, deleting PDI data before using Maya Cache Playback is no longer needed, allowing to recover simulation afterwards to make changes if needed.
New option to auto clean all PDI data after baking simulation, this new option allows to use Maya Cache Playback at the fastest speed right after baking PDI keys.
New ability to set parameters for several fracture bodies at once. New ability to edit name of selected Cracker. New ability to show/hide all Crackers paths at once. New ability to set parameters for several Crackers at once. New ability to create Crackers for all selected curves at once.